Layer, Shine, and Celebrate: A Guide to Homecoming Mum Ribbon, Rhinestone Ribbon, and Decorative Ribbon
Ribbon is more than a finishing touch. It is the structure, sparkle, and personality behind some of the most memorable homecoming mums, gift wraps, corsages, and seasonal displays. When you combine the right textures, widths, and finishes, ordinary materials turn into something that feels custom, festive, and photo-ready. The trick is knowing how to mix bold accents with supportive layers so the final design feels balanced rather than crowded.
Whether you are building a traditional Texas-style mum, refreshing a gift basket, or creating a statement hair bow, the foundation often starts with Homecoming mum ribbon. This ribbon is designed to hold its shape, support heavy embellishments, and create the dramatic loops and tails that make homecoming mums stand out. From satin and grosgrain to printed patterns and metallic edges, the right base ribbon gives every other detail something to build on.
Why Ribbon Choices Matter
Ribbon affects more than color. It influences drape, stiffness, shine, and durability. A soft ribbon may look beautiful in a bow but collapse under the weight of charms and trinkets. A stiff ribbon can create crisp structure but may feel too formal for a playful design. The best projects often use a mix: a sturdy base for shape, a reflective accent for glamour, and a softer decorative layer for movement and contrast.
Think of ribbon as a design team. One ribbon leads, another supports, and a third adds surprise. When each piece has a clear job, the result looks intentional. When every ribbon tries to be the star, the design can feel busy and lose focus. That is why planning your layers before you pick up the glue gun can save time, materials, and frustration.
Start With Structure
For large homecoming mums, structure is everything. Wide ribbon creates the main loops and tails, while narrow ribbon adds accents between them. If you are using a busy patterned ribbon, pair it with solids that repeat one or two colors from the pattern. This keeps the design cohesive and prevents visual clutter. Also consider how the ribbon will hang: satin has a smooth, formal look, while grosgrain offers a matte texture and excellent grip for layering.
Designing With Rhinestone Ribbon
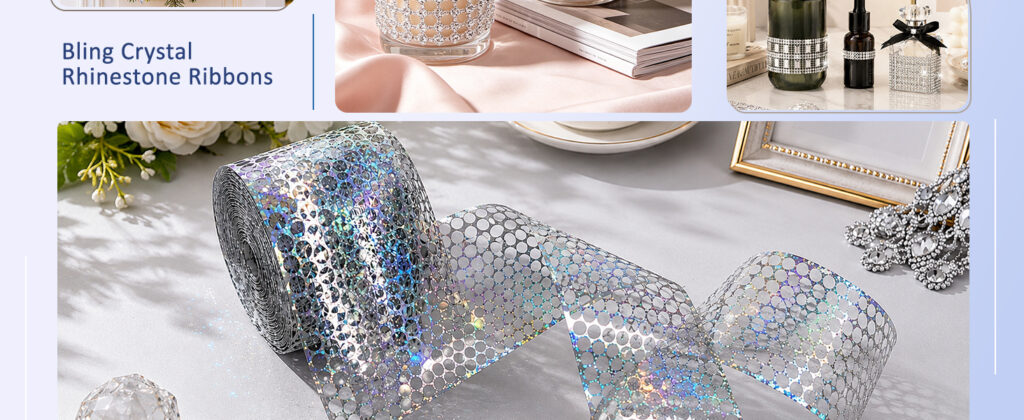
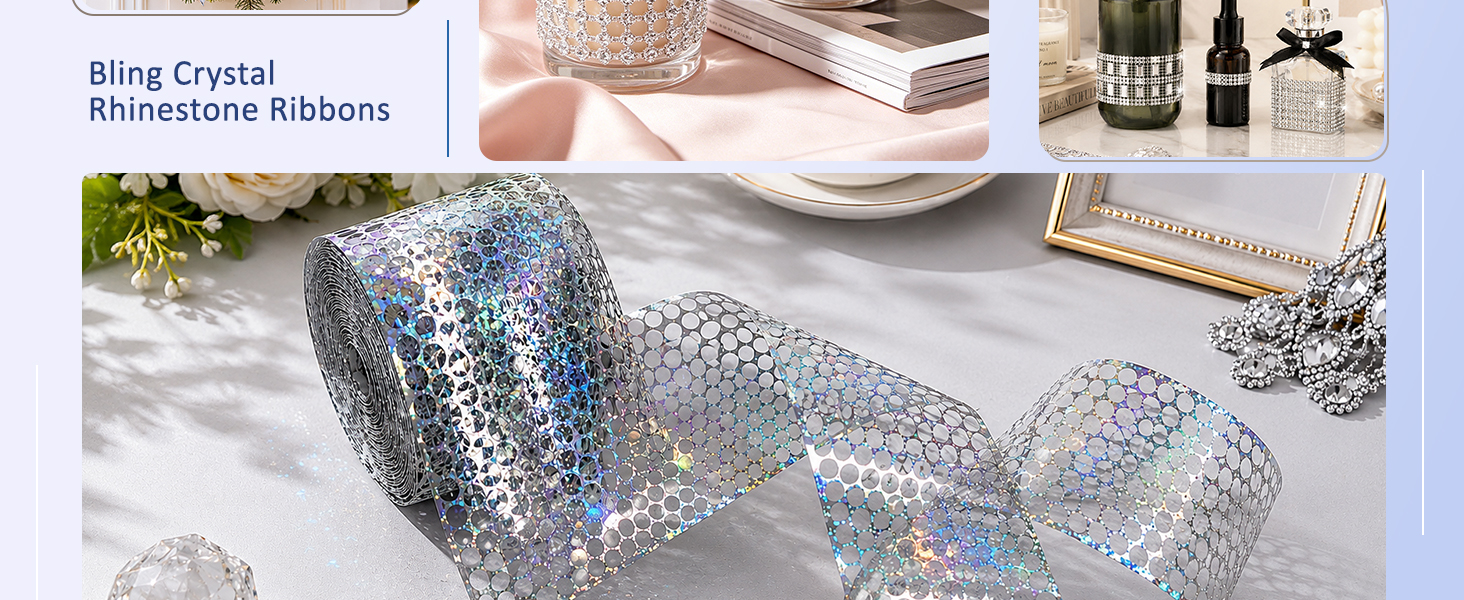
Sparkle is powerful, but placement is key. Rhinestone ribbon can transform a simple bow into a showpiece, but it works best when used with purpose. Choose one focal area, such as the center of a bow, the ends of a tail, or a border along a gift wrap, and let the rhinestones do their job there. Repeating small amounts of sparkle throughout a design can also create rhythm without overwhelming the eye.
Try this balance test: step back from your project and look at it from a distance. If the rhinestones are the first thing you notice, they are doing their job. If they are the only thing you notice, reduce the amount or move them closer to the focal point. Rhinestone ribbon pairs beautifully with satin, velvet, tulle, and metallic trim, but it can disappear against heavily patterned backgrounds unless you give it a solid border or backing.
- For bows: use rhinestone ribbon as a center wrap or a thin accent layer.
- For mums: add short rhinestone tails beneath the main ribbon loops.
- For gifts: wrap a narrow band around a solid ribbon for a polished contrast.
- For hair accessories: keep sparkle near the clip or center so it catches light without overpowering the face.
Bringing In Decorative Ribbon
Decorative ribbon is where personality enters the project. This is the layer that can be whimsical, seasonal, textured, printed, or unexpectedly colorful. A Decorative ribbon might feature polka dots, florals, team colors, glitter edges, or woven patterns. It can soften a structured mum, add playfulness to a formal package, or tie an entire color theme together.
Use decorative ribbon as a contrast layer. If the base ribbon is solid and formal, choose a decorative ribbon with a lighter pattern or playful texture. If the base is already busy, choose a decorative ribbon with a simpler motif. The goal is to create conversation between the layers, not competition. A narrow decorative ribbon woven through wider loops can add movement, while a wide decorative ribbon can become the main feature when the base is neutral.
Designer tip: Choose one “hero” element, one supporting texture, and one subtle neutral. This simple formula keeps layered ribbon projects looking rich, cohesive, and camera-ready.
Balancing Color, Width, and Texture
Width creates hierarchy. Wide ribbon usually reads as the main event, medium ribbon supports it, and narrow ribbon adds detail. If you use too many widths of the same importance, the design can look choppy. Instead, let one width dominate and use the others as accents. Texture works the same way: smooth satin reflects light, grosgrain absorbs it, glitter catches it, and rhinestones amplify it. Mixing textures adds depth, but each new texture should have a reason to be there.
Color balance is equally important. A common approach is to use two main colors and one metallic or neutral accent. For example, team colors can be softened with white ribbon, or deep jewel tones can be brightened with silver rhinestone trim. If you want a more energetic look, use a triad of colors but keep patterns limited. The more colors and patterns you add, the more important it becomes to repeat each one at least twice so the eye can connect the design.
Practical Assembly Tips
Prep before you glue. Cut ribbon lengths with extra allowance, heat-seal or fray-check the ends, and lay out your layers before attaching anything permanently. For homecoming mums, build from the back forward: tails first, then large loops, then smaller accents, and finally the center embellishment. For bows, pinch and secure each loop before combining them so the shape stays crisp.
Keep weight in mind. Heavy charms, pins, and rhinestones need strong support. Use a sturdy base ribbon and reinforce key attachment points with extra glue or stitching. If the project will be worn or carried, test the balance by holding it up before adding final decorations. A beautiful mum should feel secure, not fragile.
Finishing Touches That Make a Difference
The final details are what turn a ribbon project from handmade to heirloom. Trim loose threads, hide glue strings, and shape each loop with your fingers while the adhesive is still flexible. Consider adding a small name tag, a date, or a tiny charm that tells a story. These personal touches do not need to be expensive; they simply need to feel intentional.
When you store your supplies, keep ribbon rolls separated by width and finish so future projects are easier to plan. Label specialty ribbons, especially rhinestone and metallic styles, so you remember what you have on hand. With a little organization and a clear layering strategy, you can create homecoming mums, bows, and gift wraps that look polished, playful, and completely your own.